
by Dr Freddy Wordingham
Cloud Ops
6. Adding a React user interface
Previously, we wrote a new script which continues training an existing CNN. In this lesson, we're going to take a look at how we can present our application to our users using a graphical user interface (GUI).
💡 Human GUIs make software accessible and intuitive, catering to a broad audience that may not understand code. Websites as UIs offer cross-platform accessibility, require no installation, and allow real-time updates. They are the go-to for reaching a global audience easily.
⚛ What is React?
As we're going to be developing a web interface, we're going to be making use of the React framework.
Web frameworks like React, Angular, and Vue provide pre-built components, state management, and routing, saving development time. They offer better performance optimization out-of-the-box. However, they add a layer of complexity and can be overkill for simple projects.
Raw HTML, CSS, and JS offer full control and are lightweight but can become unwieldy in large projects. Whilst we could get away with using these for this projects, we may as well adopt a longer-term solution now, while the codebase is small, as it'll be much easier to start there than migrate down the line.
React is a JavaScript (or TypeScript) library for building user interfaces, especially single-page applications. It was originally developed by Facebook, as is a popular for its component-based architecture, which makes code reusable and easier to manage. React uses a virtual DOM to optimize rendering performance.
ℹ️ DOM stands for Document Object Model. It's a programming interface for web documents, representing the structure of a webpage as a tree-like object. It allows languages like JavaScript to manipulate the content, structure, and style of web pages dynamically.
📺 Building the Frontend
💡 Create
To create our React frontend, we want to change directory to the root of the project and run:
npx create-react-app frontend --template typescript
This will set up a new React project in a folder named frontend, using TypeScript as the template. The command downloads all necessary dependencies and provides a boilerplate structure.
Rename
This will create a subdirectory called frontend/, but it will also name the frontend app frontend.
It won't make a difference unless we publish the package, but we can update the string in frontend/package.json with the name of our app:
"name": "my_image_classification_web_application",
ℹ️TypeScript is a superset of JavaScript that adds static types. Developed by Microsoft, it aims to catch errors early, make code more readable, and enhance autocompletion features in IDEs. TypeScript compiles down to plain JavaScript, making it compatible with all browsers. TypeScript can be more difficult to work with than JavaScript, however it offers some clear benefits:
- Static Typing: Catches errors early.
- Improved Readability: Types serve as documentation.
- Enhanced Tooling: Better autocompletion and refactoring.
- Interface and Generics: Advanced design patterns.
- Easier Maintenance: Type definitions help in understanding legacy code.
⬇️ Install
Change into the frontend/ directory:
cd frontend/
And then install our application, (or any missing dependancies):
npm install
We can then spin up the frontend development server with:
npm run start
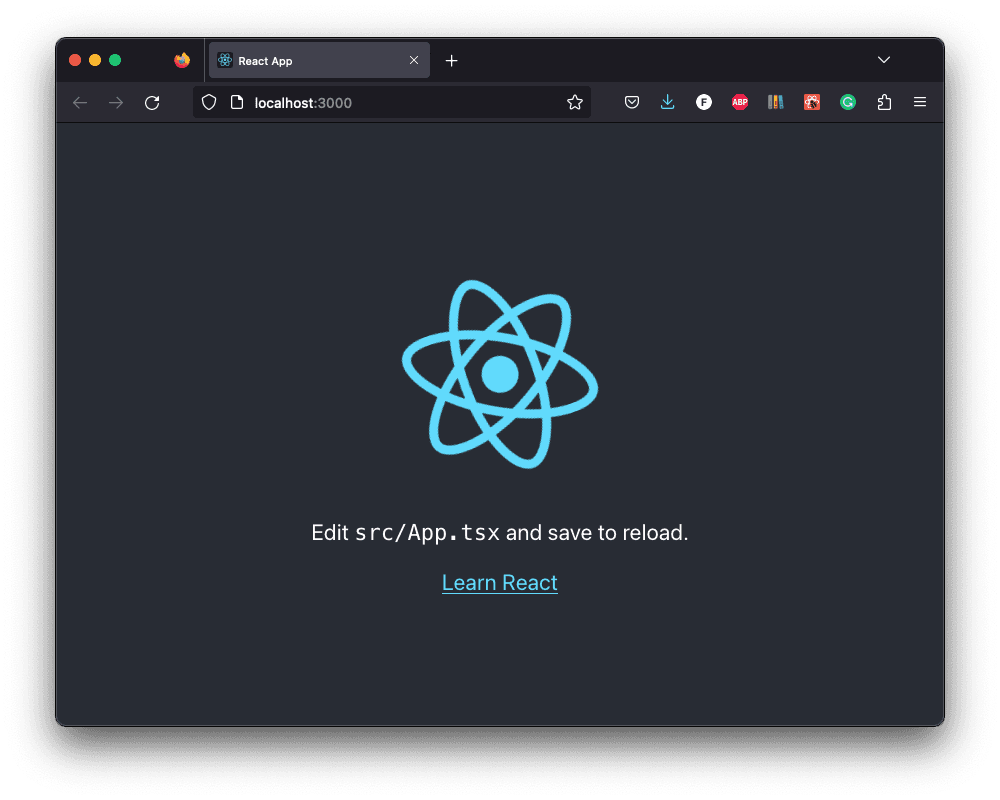
And if we open our browser at http://localhost:3000 we should see our React application!
🖊️ Edit
We can edit our frontend by modifying the .tsx files in the frontend/src directory.
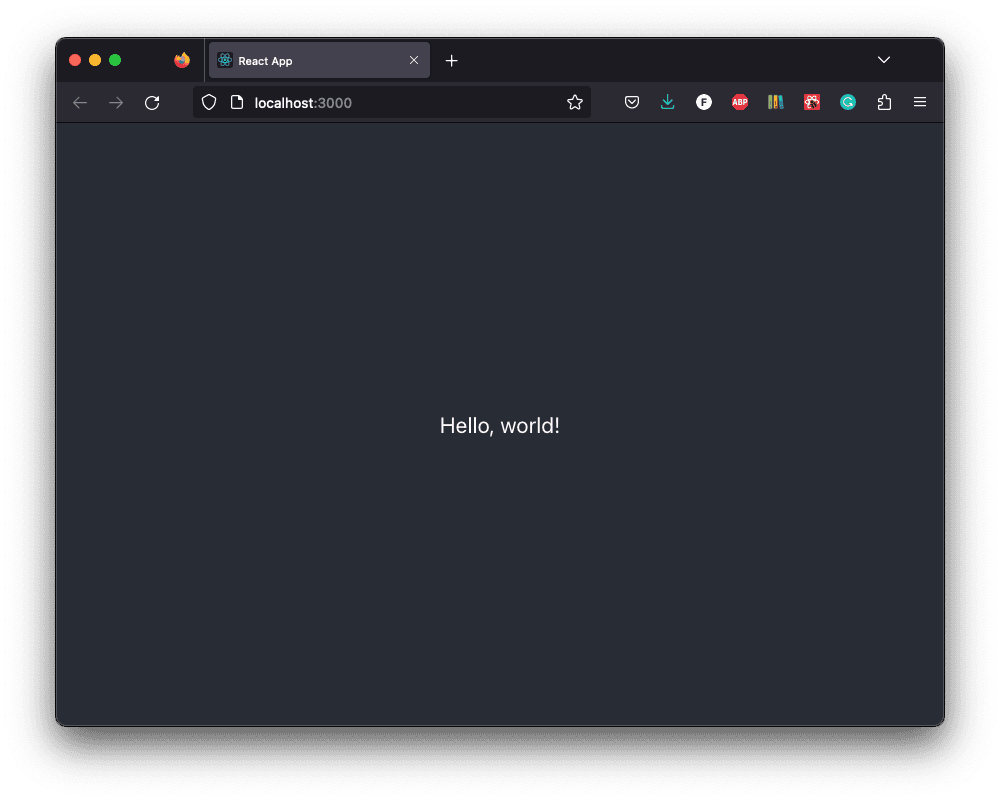
For example, let's modify the splashpage so it says "Hello, world".
Open up frontend/src/App.tsx, and update it with the following:
import "./App.css";

function App() {
	return (
		<div className="App">
			<header className="App-header">
				<div>Hello, world!</div>
			</header>
		</div>
	);
}

export default App;
After you make the edit, you should see modified splashpage at http://localhost:3000:
🚧 Build
When we run our development server we can edit the frontend source code and see the updates reflected almost immediately in our browser.
However, when we come to deploy our code we'll want to compile the code so that it's optimised and ready to go.
We can do this by running:
npm run build
which will create a new directory at frontend/build.
This directory contains the production-ready, optimised build of our React application.
All the JavaScript and CSS files will be minified, and the HTML will reference these optimized assets.
The 'build' folder is what you would deploy to a web server to make your application accessible to users.
:information_source: The 'build' folder simplifies the deployment process as it consolidates the necessary files in a format that's optimised for performance. Most cloud-based web service providers have straightforward ways to deploy applications right from this 'build' directory.
📑 APPENDIX
🏃🏾 How to Run
Navigate to the frontend/ directory:
cd frontend
Install any missing frontend dependancies:
npm install
Start the frontend development server:
npm run start
Build the files for distributing the frontend to clients:
npm run build
🗂️ Updated Files
Project structure
.
├── .venv/
├── .gitignore
├── resources
│   └── dog.jpg
├── frontend
│   ├── build/
│   ├── node_modules/
│   ├── public/
│   ├── src
│   │   ├── App.css
│   │   ├── App.test.tsx
│   │   ├── App.tsx
│   │   ├── index.css
│   │   ├── index.tsx
│   │   ├── logo.svg
│   │   ├── react-app-env.d.ts
│   │   ├── reportWebVitals.ts
│   │   └── setupTests.ts
│   ├── .gitignore
│   ├── package-lock.json
│   ├── package.json
│   ├── README.md
│   └── tsconfig.json
├── output
│   ├── activations_conv2d/
│   ├── activations_conv2d_1/
│   ├── activations_conv2d_2/
│   ├── activations_dense/
│   ├── activations_dense_1/
│   ├── model.h5
│   ├── sample_images.png
│   └── training_history.png
├── scripts
│   ├── classify.py
│   ├── continue_training.py
│   └── train.py
├── README.md
└── requirements.txt
frontend/src/App.tsx
import "./App.css";

function App() {
	return (
		<div className="App">
			<header className="App-header">
				<div>Hello, world!</div>
			</header>
		</div>
	);
}

export default App;